Animation Studio skills
Build a chair
At the start of the project, I had to find a suitable picture for a chair that had both side and front view. I decided to create a simple office chair, this would be a hard task as most of the polygons I have used have been moulded into the chair form.
I started off with the seat and back of the chair, and used a one block polygon to start off with. I then implemented the 'Insert Edge loop' tool and created a 7 x 5 divisions across the polygon so that I could extrude some faces on the seat to create the back rest of the chair.
To create some of the rounded edges on the chair, I decided to use the 'Bevel tool'. I wanted to give my chair a more comfier look so to create the dip in the seat, I had to use the soft select tool and play around with the fall off curve just until it was the right amount of area being effected by the soft selection.
I have had some experience using this specific tool to create upward/ downward curves and it is a fun tool to play around with and it definitely helps with this project.
To introduce the images of the chair into the work area on Maya, I had to click the space bar to bring up all four panels then selected the side camera, View, Image plane and then Import image. I will be using this more in the future to model certain objects maybe even to create arm or leg rigs to work on.


To link the arm rest as one whole object, I had to select the opposite vertexes and merge them so that they would connect smoothly.
Now that I have modelled my chair, I now have to texture it.
Texturing

I start by finding suitable textures for my office chair, so I have found a regular fabric material for both the seat and back rest, and I have also found a polyester type of material for the arm rests. For the stem and the wheels of the chair they will also have to be another plastic material and for the legs they will be a metal alloy material.
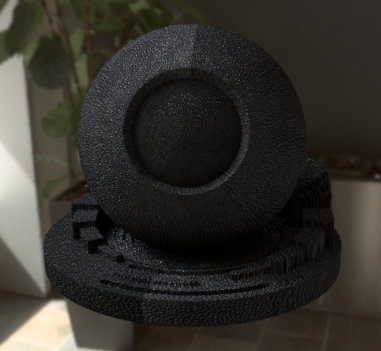
This material is the fabric for the seat and backrest of the chair. This has used the Lambert material.

This material is the fabric for the head rest of the chair. I have had to show this in a Lambert material, I have originally used a Blin material to give the texture a sheen to it, however seeing this in the Hypershade editor it is too shiny.

This is the polyester material for the arms of the chair. This has also used the Lambert material.


This is the metal material for the legs of the chair. I have used a Phong material so that it can have that shine on the metal.
This smooth plastic material will be used for the wheels of the chair

I planted 4 area lights around the chair all facing it with quite high intensity and exposure. I also created a little stage and coloured in the lambert a beige colour, so that the chair would stand out when I had rendered it.

This is the chair I was modelling from. I have had to find source material online on Google images, underneath are all the PNGs that were used in the final piece.