Experimental Animation
CW2
Experimental and Convergent Animation
Following on from the previous semester, I will start my project by exploring various movements in animation, real life, and virtually. I want to understand the various elements of movement and how they can be introduced into other animations. My research will include these elements and how they could be created into my ideas.
Light Painting Experiment
Following on from the previous semester, I decided that I would go down the same path and play around with more light experimentation stuff. My aim for this project is to create a piece of work similar to the light painting project but on a bigger scale. I might create a huge light painting scanning over the University campus whilst on top of a building. Equivalent to this, I also had an idea of creating a digital neon light painting from a picture that I have taken. Or perhaps, I could create a digital moving video that includes elements of light painting.
Movement In Dance
My main focus in movement throughout this project is through dance, and how the body moves in such a way with the sounds in music.
The body movement in videos such as these are very exuberant using a lot of jumps, body pops and arm movements. I want to focus on movement that isn't aggressive but rather I would like to focus on smooth flow in the movement of dance. For instance, in "Heavy California - Jungle" the dancers use a lot of body pop movements and involve their legs a lot. I would like to replicate these dances in some ways although I will be using a volunteer to dance for me as I can not dance to save the life of me.
Whilst talking about regular generic dances, mostly anything could be interpreted into dance. This video for instance, the moves have not been created before and they just look peculiar and really funny to watch.
Festivals - Tomorrow Land
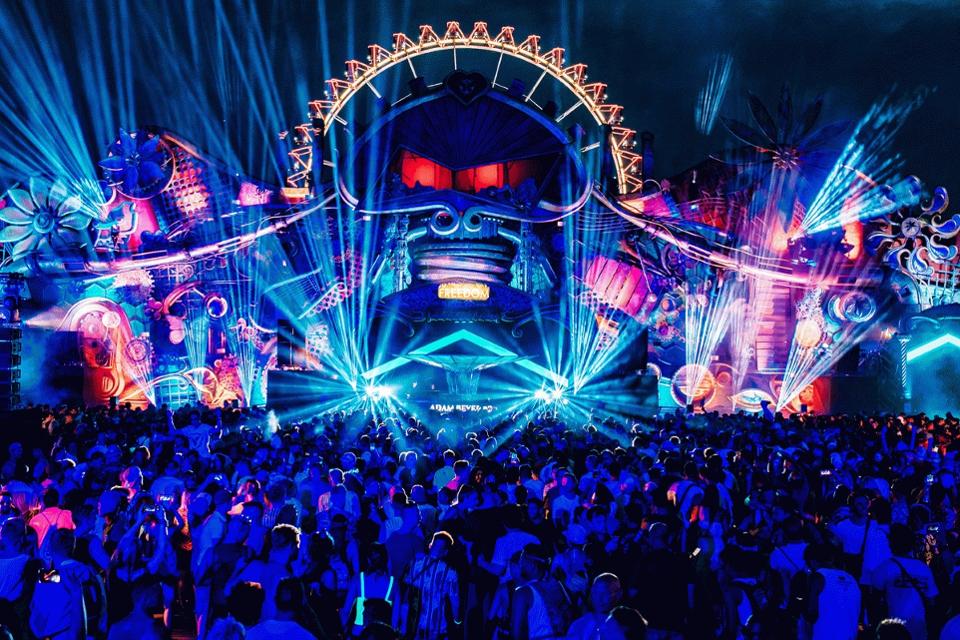


Tomorrow Land, which is a dance festival, focuses more on music and light which is great to correlate to my project. The lights and colours that they use are incredibly eye catching and vibrant which brings out the festivals atmosphere. I want to combine both dance and light together for my project so I believe researching on various dance festivals can help me to gain inspiration throughout.
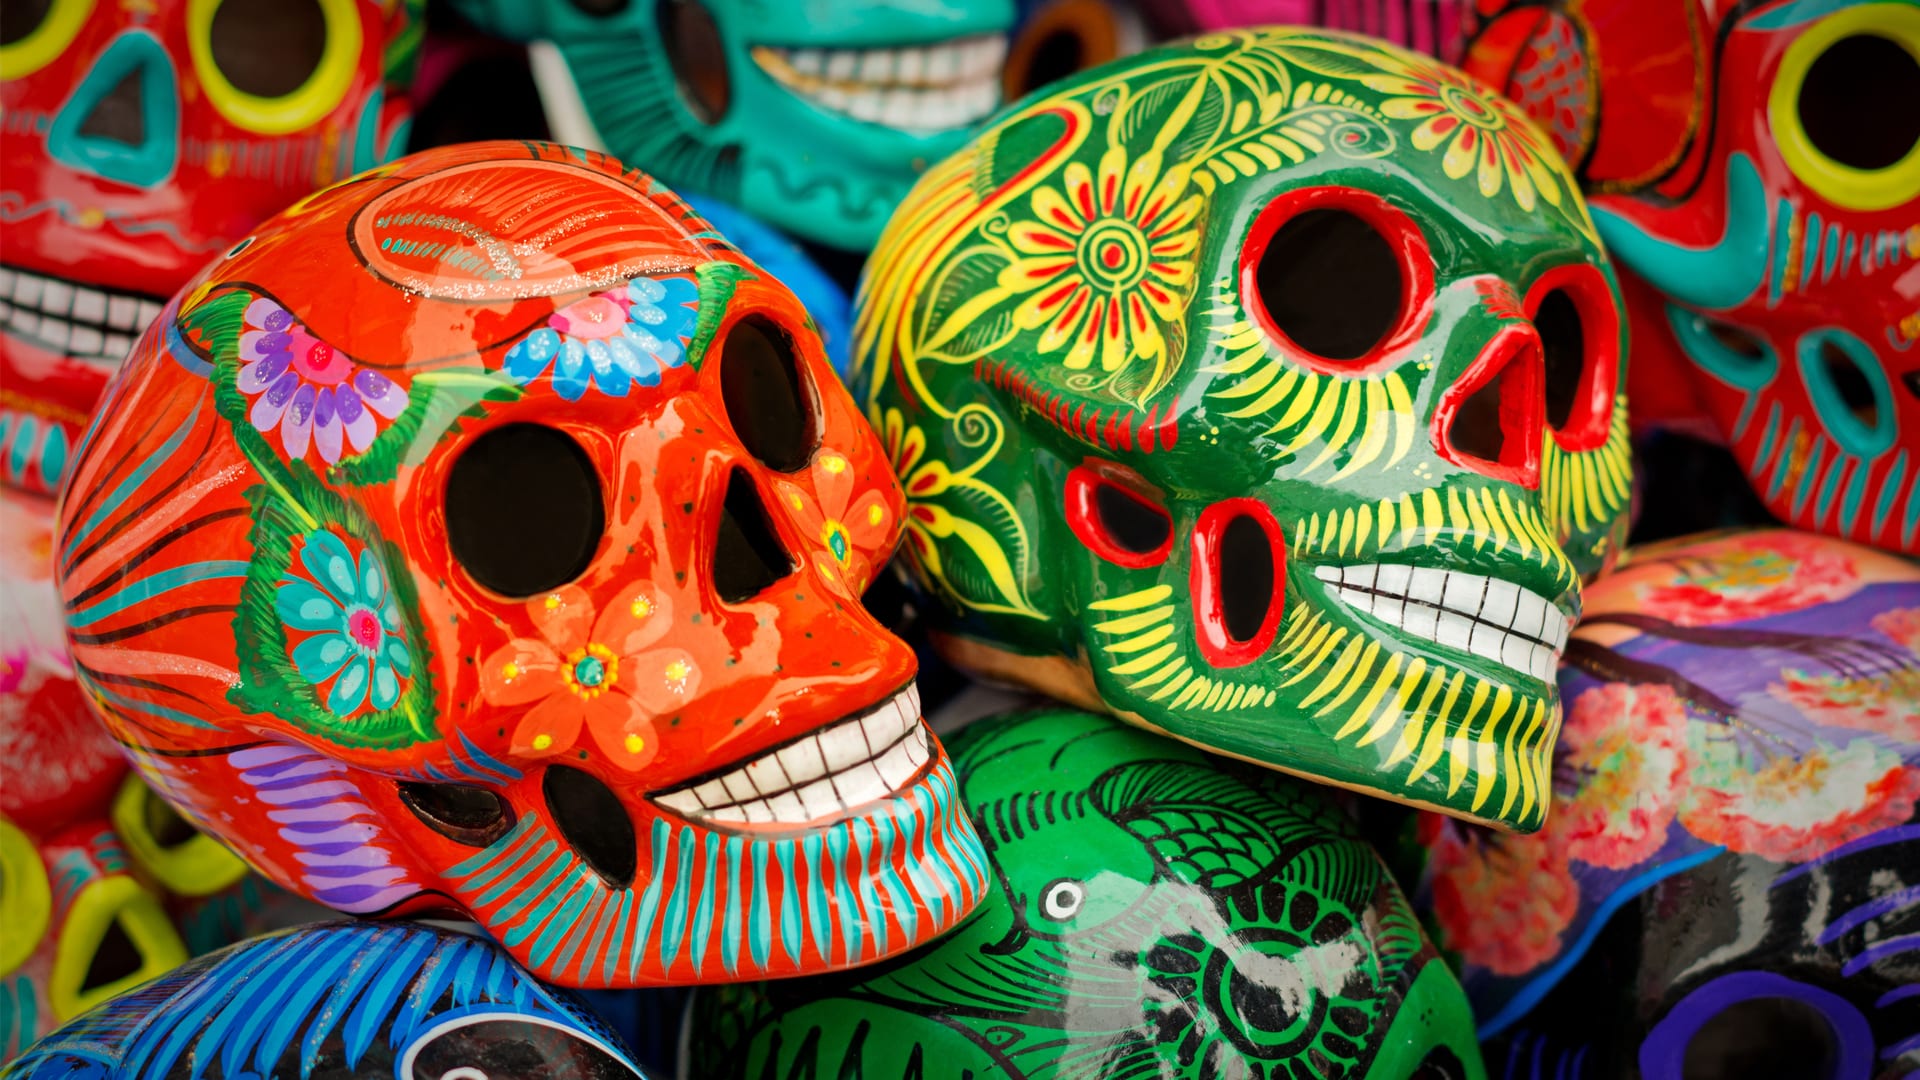


Similar festivals like day of the dead (Día de Muertos) focus more on colour and patterns during the festival. Whilst the festival is known more for respecting the dead, it is widely focused on colour, costume. I love the vibrant eye catching colours which will be fantastic to add into my project. I might even create colourful body paint on myself and begin to dance similar to both Tomorrow Land and Day of the Dead.
Festivals - Holi


The Holi Festival in India focuses more on powdered colours of purples, blues and oranges thrown onto people. I have focused on this festival mainly for the colours but the whole action behind the festival. Throwing coloured powder around everywhere and onto people gives me motivation for the project. I have done research on this festival for an old art project in which I threw coloured powder onto a sketchbook, I really tried to catch the essence of Holi and its festivity.


Neon Images


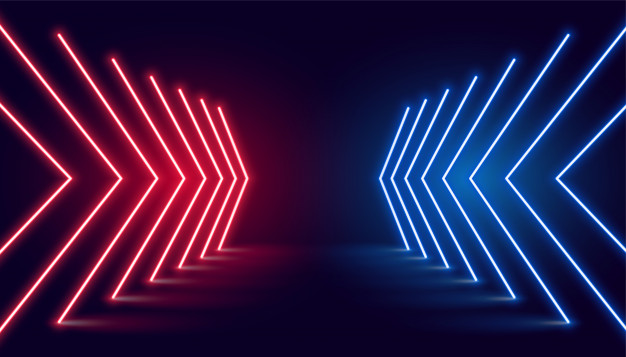

The glow effect of the neon signs is exactly what I want for my rotoscope animation, I love the second glow layer placed behind the original writings and designs. I wanted to try and find some neon signs near where I live but unfortunately there were non that I could find close by.


I decided to try and create my own version of neon lights in Photoshop. It was actually quite simple to create this, all I needed to do was to edit the layer and play around with the Layer style menu. From there, I could then click on the outer glow option and then choose whatever colour I would like to create a glowing effect similar to the neon signs from around the world. This style works especially well with a black background which correlates to a night setting.
Digital Light Experiment
Using After Effects or Photoshop, I would like to create a neon rotoscope edit over a dance video or a walking video of an animal of some sort that I have recorded. I will focus the movement in the video of the person/ animal. Below is a video that has inspired me to create this kind of digital art style.


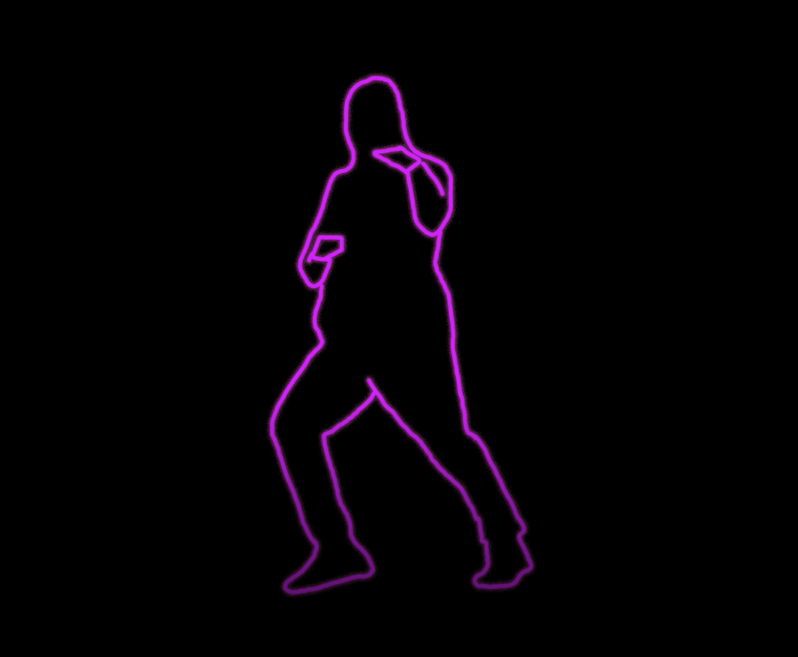


Here are screenshots from a dance video. As you can see, the rotoscope is over the body parts/ clothing of the video and this is exactly how I would want my animation to be like. I have created light paintings similar to this style, however it was difficult to make originally.
Here is an outline example of how I would want my rotoscoped animations to be like. I have applied my skills from understanding how to create a neon effect onto my actual work. I really love the look of the outline. The colours that I use will really determine the effectiveness of my rotoscoped animations. I will probably use vibrant and bright colours throughout all of my clips that I will make.
These are just few of the examples that I did when I was making the light paintings in the previous light experiment project.

In After Effects, I created a silhouette styled animation by using the rotobush tool which helped me highlight the moving characters on screen in each frame. This was a very difficult task, as the brush would automatically highlight entities that were outside of the work space that I was concentrating in. I also had to change the resolution from high to mid, because every time I complete a frame it would render out for an immense amount of time.


This edit was by far my most favourite edit of the project. Although this was time consuming, I really enjoyed playing around with the colours and different ways to follow the dance movements. This was all done on 29 frames per second which took a long time but it was well worth it in the end. I could have tried new various ways of following the movement such as, making a tracer following the legs and arms, or perhaps creating footprints of where they were dancing. Overall though, I had so much fun with playing around with this rotoscoped animation and being able to include the audio into the dance was also rewarding.
Little Experiments
Light Painting on Photoshop
I wanted to try out a little piece of work that has been rattling in my brain since the start of the project. I have decided to create another still portrait, however this time I would want to create a digital light piece on Photoshop. To start, I would take a picture of myself and add it onto Photoshop. I would they turn down the brightness of the photo and then turn up the contrast at the same time.


I had to use a blurred brush and play around with the opacity to get the right amount of glow that I wanted. Since this was a quick little test I didn't really take a good picture. I should have tried using a DSLR Camera instead of my phones camera.

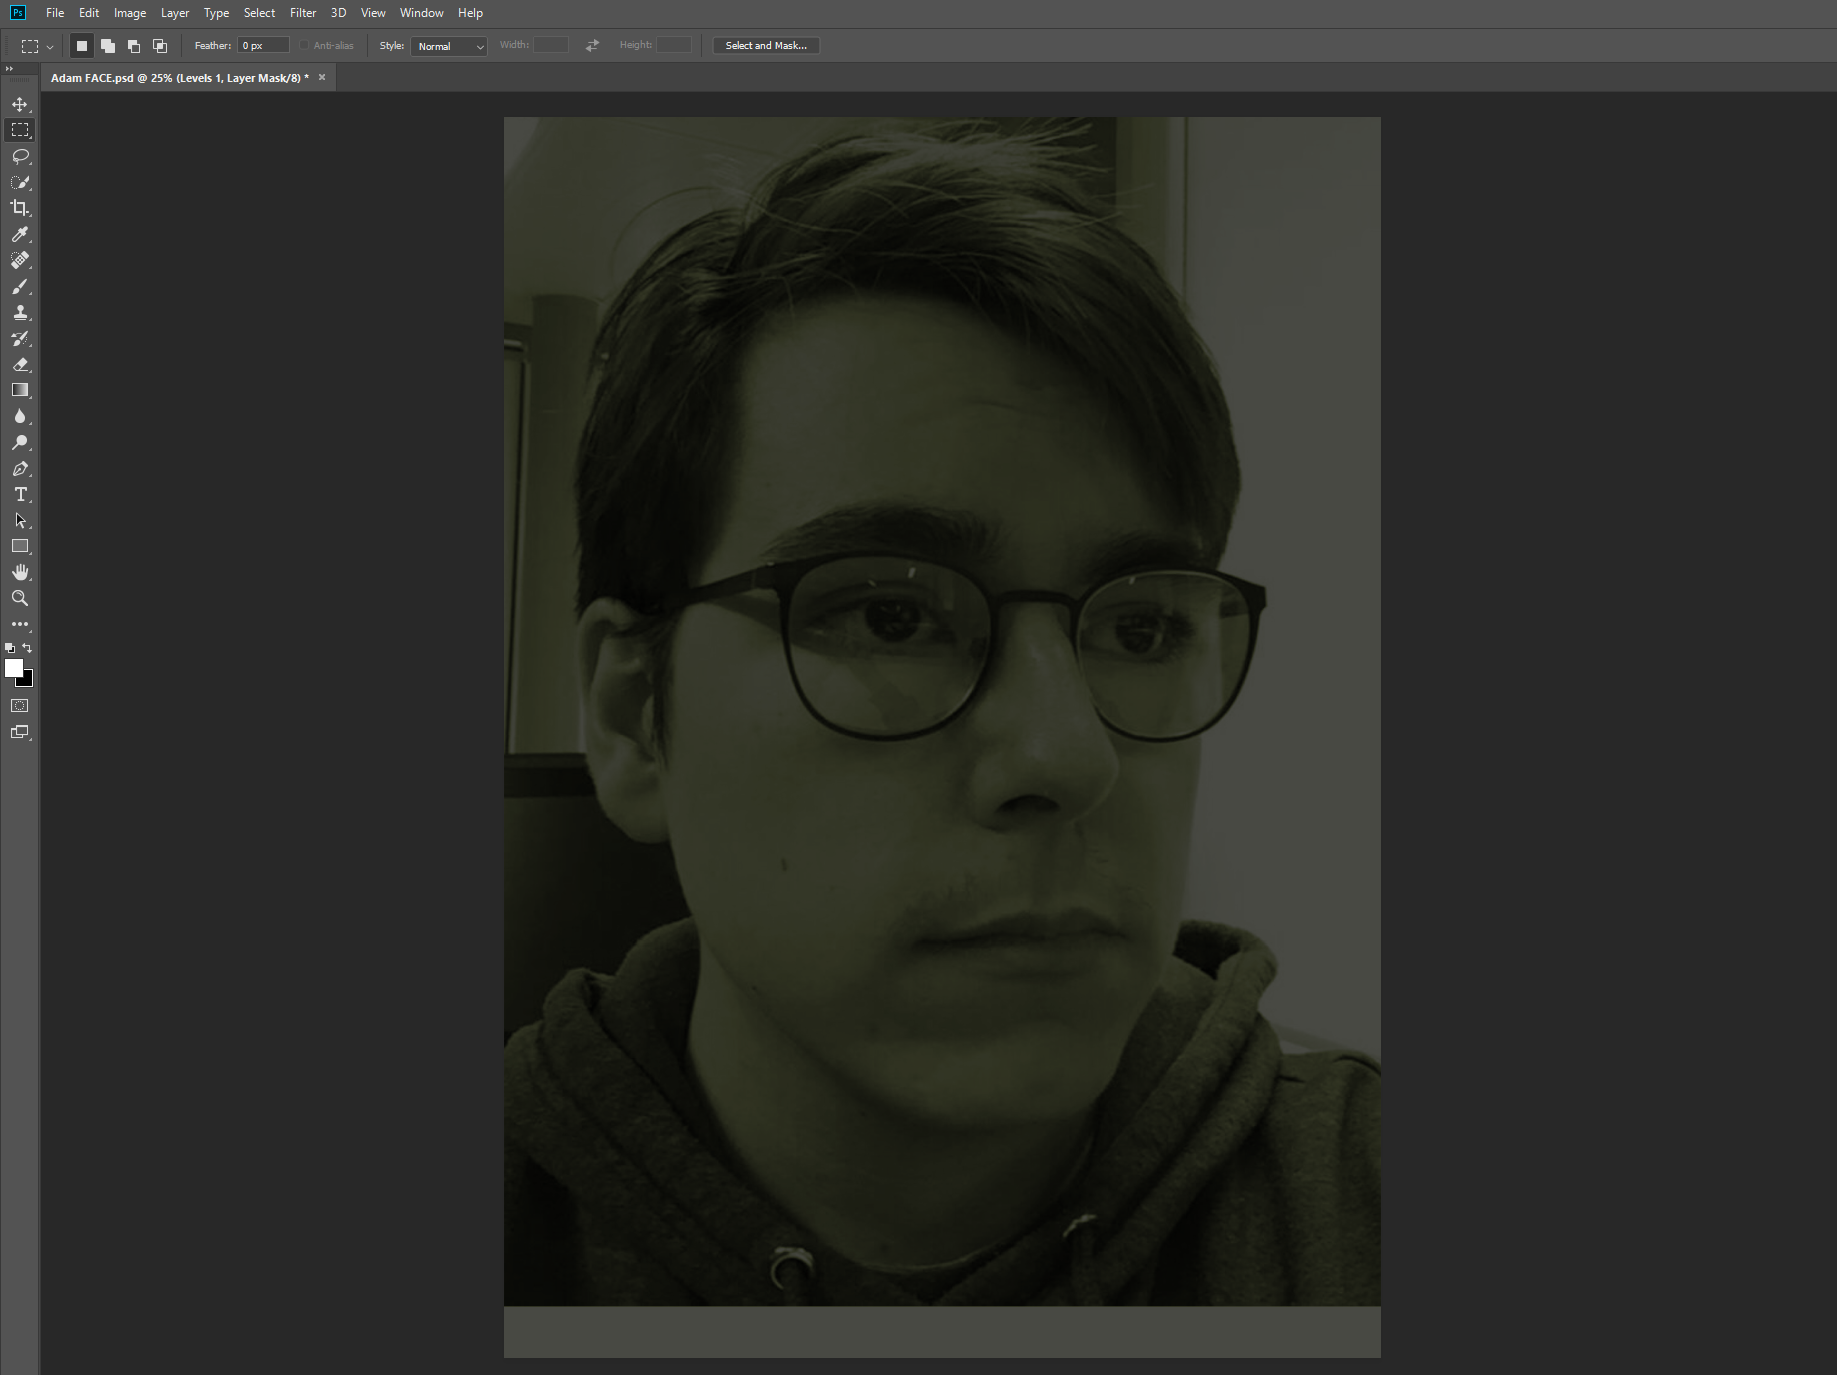
I would then play around with the Hue and saturation of my photo until I was satisfied with the right colour I wanted the picture to be set in. I decided to use green, similar to the hoodie I was wearing. I then copied and pasted the original image and moved it to the top of all of the layers where I would then use the pen tool and draw around my glasses so that I would create another layer of itself in a way for the glasses.

I would then select this layer and click: Image, Adjustments, Invert. I would then convert that layer into a smart object. (I did have a small problem with this however, when I was cutting the lenses out of my glasses, my left lens wouldn't cut out with the rest of the glasses so I decided to leave it as it is for now). Now I would I would play around with the hue and saturation of the glasses. I decide to make them red. Once I did this you can already see the difference in how much the glasses stand out a lot from the picture. To begin adding a glow effect similar to neon signs, I had to simply copy and paste the same layer then click: Filter, Blur then Gaussian Blur.

What I Wanted To Do
What I would want to do for this project was to experiment with other various mediums, I also wanted to buy glow in the dark paint and place it over myself and dance in the dark. I wanted to do this to show a little bit of correlation in my work with the colour and dance. However, with the restrictions I had because of the lock down, I wasn't able to produce the work that I would have created. Because I was restricted with only using digital work, I tried many ways to create various medias on After Effects and Photoshop. I would have wanted to try out physical medias too such as playing around with coloured paper, glow sticks, torches, laser pointers, and perhaps even Christmas/ fairy lights.
Link to the clips I have created
This was the end result of the project I was working on. All of the clips were all done on Photoshop whilst the last clip was done on After Effects. The first clip was created by recording my good friend Will which was then edited to play out at 15 frames per second. The second clip was a tiny segment from a music video that I edited in 24 frames per second. The third clip was from another music which complied of 6 of the same dancer with various types of neon designs, this was done in 26 frames per second. The fourth one is of two dancers that are dancing in a 90s dance routine which was done in 29 frames per second. The last animation was created on After Effects and this was done with 25 frames per second but on a medium resolution.
I thought that this was a fun and exciting experience for me as I always wanted to create my own neon styled animation through dance. I believe I showed development through all of the dances, and also showed that I have used all of the body parts to show the expressions in all of the animations.
CW1
Experimental Light Painting
Research
My creations
I found various light painting photos on google images and hand picked five of my favourites. The first image appears to have been created on the floor, and the various mash up of different coloured lights stand out amazingly. The design feels like a lazer trap. I also love the look of the third image, it seems to have been created with a sparkler of some sorts to create this splashing effect around the light tunnel. I chose some of these images to try and inspire me with my light painting experimentation. These type of designs remind me of rotoscoping especially the fourth image.
https://www.youtube.com/watch?v=zTnRXFg9Wj8
I also tried to create some outlined pictures similar to these cool neon edits created on after effects. I really love these edits and I wondered if I could create some of my own from strictly light paintings.
Here are the light paintings that I created, some were rough, some were pristine. Below I will show the paintings that I really like and others that I don't find interest to.
Before we started the project, the DSLR camera had to have the shutter speed at 10, the ISO to 100, and the FM had to be set at F22. Myself, Ethan and Will all tested out the camera just to see if we had set it up right. It was slightly challenging as we spent a good 30 minutes figuring out how to work the camera properly. Sometimes the camera wouldn't focus on anything and wasn't able to take a picture which was very time consuming.
Designs that I like
This image was created with a red torch swirling around Will. I really love this image, it reminds me of a portal that is teleporting Will somewhere else, similar to the Star Trek teleportation. It also makes Will look like a sorcerer who is casting a spell. The light reflection on his face really illuminates well. I believed this worked really well because we weren't in a pitch black room, and both reflections from red and white light feels like a mixture of good and evil. However, I do wish that the room was completely black so that Will would only by illuminated from the torch. I think that maybe to improve it, I would swirl the light around Will symmetrically to make it almost perfect.
In this picture, Ethan helped me with creating a light outline of my body whilst I shine my phone torch at the camera. This reminds me of the neon edits on YouTube that I talked about previously. I really love how I emerge from the darkness and that you can slightly see me from the glow of the torch. The lens flair from my phone stands out well, I love how this image has been structured. I wish that there was more to this image and that I added more motion in the image. Maybe I could make more similar to this, however this time I would move my body round more so that Ethan could draw around more of me.
I really love this image. It has a swirling vortex of various blues, greens, and reds. I flicked my wrist around and moved the light in a circular motion. This image feels very psychedelic and trippy, and it also reminds me of becoming too dizzy when standing up too quick. The white light in the middle brings the picture out well. Also, you can see my figure holding the light which reminds me of a doctor in a hospital as he pulls the light away from the patient. I would have preferred to have been in a darker room though, however I think the ominous figure of me makes the image more eerie. I think to improve this image just a bit, I could perhaps add more swirls and maybe make them more symmetrical.
I tried to create an experiment of writing my name on each shot in the camera. However, I forgot that the camera is mirrored and so when creating my name, the D was reversed and all of the letters came out like this in order. I think the first A and M both look very professionally made and they also stand out more. I created all the letters with one consecutive motion, rather than stopping in parts. For example, with the A I should have created a V shape and then a line in the middle.
This image was created by swinging a bundle of fairy lights in front of the mirror. I actually like this creation because it looks like I created an orb in my hands. You can see me in the background of the mirror creating the light ball. I think that this would look much better in a darker and bigger room, I was restricted by the size of my room and because it was so small, the camera couldn't show the whole light design.
With this design, I placed an orange shot cup over my light on my phone and walked in a zig zag motion in front of the camera. This reminds me of a car driving along a road and all you can see are the headlights/ break lights. It also reminds me of a way-point or a guideline to something important. You can see my figure glowing in the dark which makes this image look even better as it looks as if I am fading away. Maybe if the light was much stronger, the line would stand out more. My fading image makes me look sinister and demonic like, and I think I have captured one of my most favorite light paintings.
Designs that I don't like
I wasn't really happy with this light design, I tried to make a square with the orange shot cup like I used previously. However, my finger slipped when holding the shot glass so I wasn't able to create a perfect square. Also, the square isn't centered towards the camera. My original idea, was to create picture frame with, face being highlighted in the frame so that I was the picture.
In this image, I was trying to draw around Will and make a similar outline like I did previously. Although, with this design I was very sloppy trying to draw around him because I caught his hood tracing around him. I wasn't even able to draw around him fully. I think I failed this design because I only used the light from my phone and I should have used a torch instead.
This light design was going to work well but again I should have used a torch rather than the light from my phone. My hand and fingers were not aligned in the picture and so my hand shifted away from the light drawing. The idea looks cool but, you can easily see me in the picture trying to figure out if it was going to work or not. Perhaps if it was in a darker room and if I used a torch it could have been successful. However, you can see my light drawing vaguely and pick out the fingers and palm.
In this design, I tried to have the ball of light enter my mouth by bouncing in. I tried to do this in reverse thinking it would have been better than creating it normally. My face is fairly lit by the light from my phone but as you can see, the light wasn't bright enough when creating a bouncing effect and I think this is how this design failed.
Summary
In conclusion, experimental light painting can be a fun and interesting experience. I had only experienced trouble with trying to set up the camera for the shutter speed, ISO and so on. I loved experimenting with different light sources and different colours of lights when I was testing out the project. One small draw back on experimental light animation, is trying to find the right space to move around in. At times it was very hard to find a dark room that was free, but perhaps I should have experimented at night outside to try and gain a full experience of light painting. If I didn't choose light painting for the project, I would have chosen the zoetrope experimental animation. I had already created a series of drawn pictures to play on a record:
I enjoyed experimenting with the zoetrope project. However, trying to place the strips of paper together in order was very finicky and time consuming.
Other experimental animations included the slow motion project which was slightly confusing once I had to work my way through after effects. I worked in a group collecting various slow-motion clips on the DSLR cameras. I decided to choose light painting, because it was much easier creating the pictures and setting up the camera compared to the other forms of experimental animation. I found it quite fun and interesting when creating different pieces and testing out various methods. Overall, I enjoyed this project and learning about the other forms of animation. I hope that in the future my skills will be improved and that I could have a more efficient way of creating light paintings.